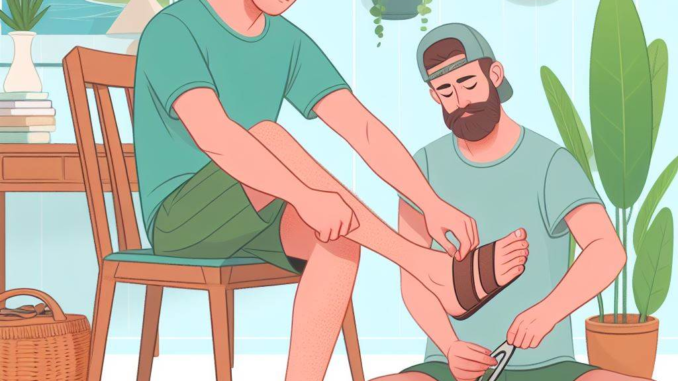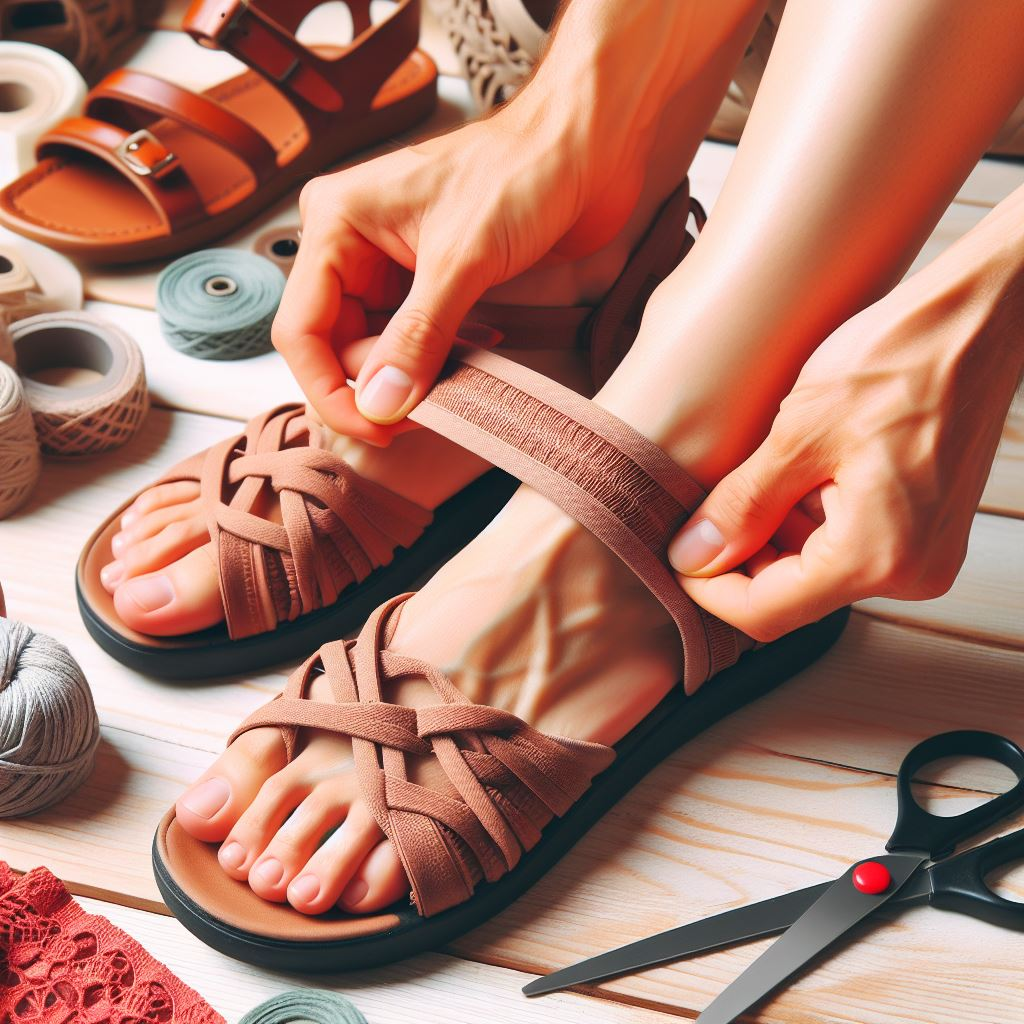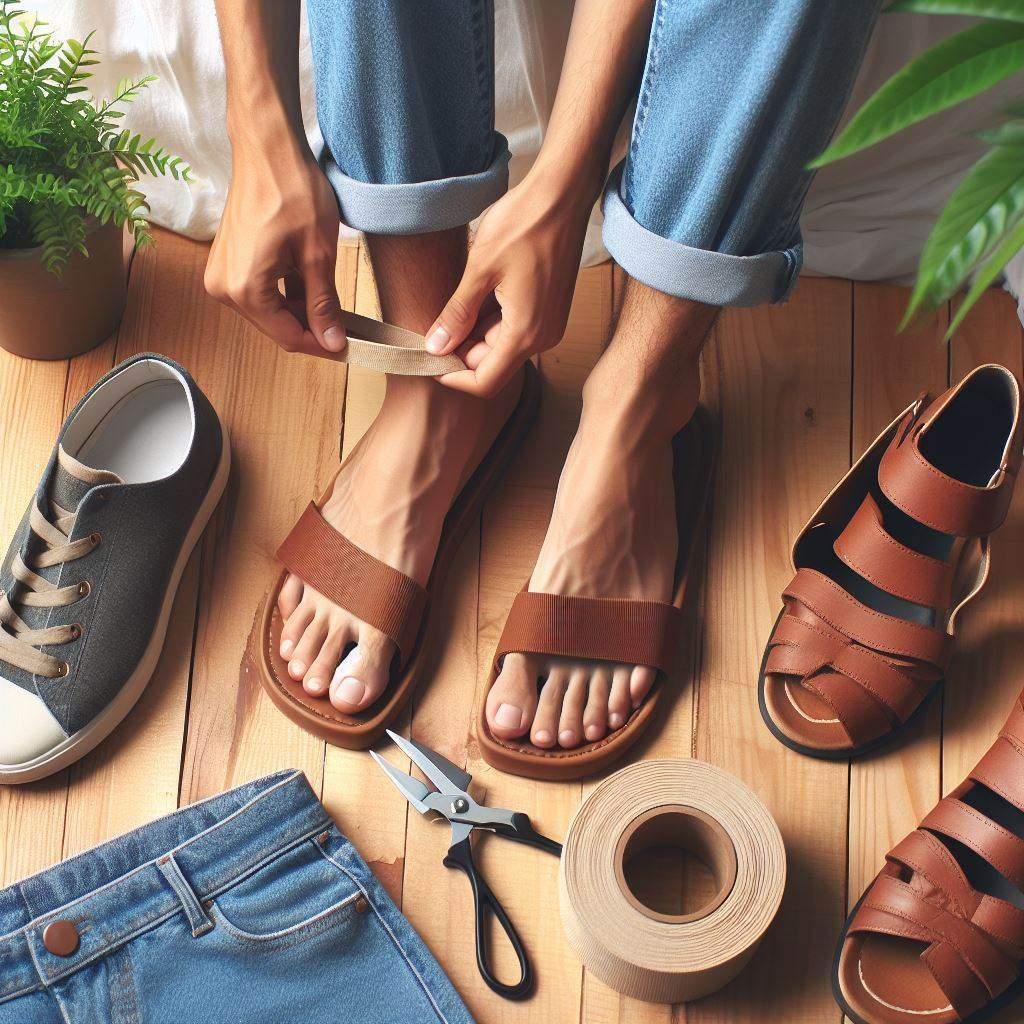
How do you stretch tight sandals? Learning to Stretch Them for Relief
We’ve all been there – excitedly slipping on a cute new pair of sandals only to be met with pinching pain from overly tight straps. I remember my first festival experience being nearly ruined because my brand new boho sandals were squeezing my toes so badly. Little did I know then about the tricks for stretching out tight footwear. After years of trial and error, blisters, and sacrificing style for comfort, I’ve become a self-proclaimed expert on stretching techniques to turn those torturous treads into enjoyable summer staples.
In this guide, I want to share everything I’ve learned about safely and effectively stretching sandals of all styles and materials. Whether yours are made of buttery leather, sporty synthetics, or canvassy fabrics, you’ll find the perfect DIY and pro tips to create a customized, comfy fit.
My Footwear Struggles and How Stretching Sandals Changed the Game

Ever since my early failed festival experience, I became wary of non-stretchy sandals that hugged my feet too tightly. I stuck with oversized flip-flops just to avoid a repeat of the blistered disaster those first sandals had caused. Fashionable strappy styles taunted me from store windows, never making it to my closet for fear of their unyielding fit.
Things changed last summer when my sister surprised me with a coveted pair of brown leather gladiator sandals for my birthday. I loved the look but swallowed hard knowing they would probably pinch my feet mercilessly based on past experience. But sis wouldn’t take no for an answer, insisting I just needed to stretch them out.
With her encouragement, I researched the best DIY stretching techniques and tools. Armed with my hairdryer, thick socks, and a can-do attitude, I gingerly started the process of elongating and widening the sandals to match my feet. Over several weeks, the leather softened until the straps cradled my feet like gentle hands. Now they’re my go-to summer shoes, taking me everywhere in stylish comfort!
After my success, I became utterly obsessed with learning all the tricks and products to stretch every type of snug sandal into relaxed bliss. No longer would tight shoes keep me from expressing my personal flair. The endless techniques opened up new possibilities to get creative with my foot fashion while preserving my foot health.
Whether your goal is to avoid blisters on a big trip, break in stiffer leather materials, or customize thrift store finds, stretching is a game-changing solution. So grab your favorite sandals and let’s get started making them as comfortable as your favorite slippers!
First, Why Stretching Sandals Matter for Your Feet
Before jumping into the how-to, it’s important to understand what’s at stake if we don’t take action on overly tight sandals.
Our feet bear the entire weight of our body and deserve both protection and freedom. Shoes that pinch, squeeze, or restrict natural foot expansion can cause issues over time. At best, tight shoes are annoying and distracting when you’re trying to dance the night away or take in the sights on vacation. At worst, they can lead to painful blisters, calluses, pinched nerves, and other injuries.
By gently coaxing tight sandals to relax around our feet, we allow room for comfortable swelling that occurs during long wear. Stretching the straps creates space to spread our toes naturally for balance and stability. The right snugness cradles without constricting – the footwear equivalent of a warm hug!
Don’t waste money on sandals that go unworn due to rigid discomfort. With a few easy tricks, you can customize a truly glove-like fit. Your feet will thank you!
Now, the Best Tips & Tricks for DIY Stretching
Ready to give your sandals a relaxing makeover? Let’s cover some of the easiest and most effective DIY techniques to stretch leather, fabric, and synthetic materials.
For Leather & Suede
The supple structure of leather makes it very responsive to stretching methods using moisture, heat, and pressure flexing. Here are my top home strategies:
The Sock Stuffing Method
Slip on the sandals with a pair of thick cotton socks. The extra padding will lightly stretch the shape. Walk around the house to really work the leather. The warmth and friction from your feet help to soften and expand the material. Try this for 15-30 minutes at a time, allowing the leather to rest in between. After a few sessions, the sandals mold to your contours.
Heat and Steam
Direct a hairdryer on a low setting over any tight areas, keeping it moving constantly about 8 inches away to prevent overheating. The warmth makes leather supple and responsive to stretching as it cools. For even more intensity, hold the shoe over a steaming pot of water. The steam helps open the pores of the material. In both cases, wear the sandals immediately after heating to maximize the relaxed state.
Leather Conditioner Massage
Rubbing leather conditioner into tight spots nourishes the material and facilitates stretching. I like to really work it into the underside and straps, massaging as I go. The conditioning softens and moisturizes while my fingers compress and flex the structure. I’ll even add a little during the sock-stuffing method to supercharge it!
For Synthetic Sandals
From sporty straps to clear acrylic heels, synthetic sandals require their own bag of tricks to coax them into a relaxed state. My top suggestions:
The Ice Pack Method
For small, focused tight spots, an ice pack offers concentrated stretching. Fill a balloon or small zip-top bag with water and freeze it. Once solid, insert the ice pack directly into the problem area and let it melt. The expansion during freezing will force the material to stretch subtly but noticeably. Best for delicate jobs.
The Freezer Bag Technique
For a more intense overall stretch, fill gallon freezer bags 1/3 full of water. Seal and lay them flat across the footbed and into the toe box, sandwiching layers if needed. Freeze completely. The ice will expand, stretching the sandals gently but firmly. Let thaw before removing.
Heat and Wear
As with leather, a short blast of heat can temporarily make synthetics more pliable and responsive to being molded. I’ll warm up snug spots for 30 seconds with a hairdryer on low. Then I immediately put on the sandals and walk around, allowing my body heat and foot expansion to stretch them as they cool. The heat softens while my feet sculpt the shape.
For Fabric Sandals
From breezy canvas to sporty mesh fabrics, flexible textiles can be coaxed into looseness using humidity and agitation methods. Here’s how:
The Steamer Method
Holding the sandals over a steaming iron or garment steamer helps relax fibers and make fabrics more stretchy. Focus on tight zones, being cautious not to overheat. The humidity softens the material. For full coverage, hang sandals in a steamy bathroom while showering.
The Soak and Wear Approach
Submerge fabric sandals fully in lukewarm water for 5-10 minutes. Some materials like cotton and hemp will expand when soaked. Remove and wear the wet sandals, allowing your movement to stretch them as they dry. The residual moisture keeps fibers flexible as your feet mold the shape.
Remember to always confirm care instructions before using water on fabrics. Avoid soaking if unsure.
When to Use Pro Stretching Services

While home techniques work wonders, some seriously stubborn sandals require the pros. Signs it’s time to call in expert services:
- The sandals are extremely expensive, delicate, or rigid.
- Breaking them in normally has caused blisters or bleeding.
- Home methods haven’t made a dent after multiple dedicated attempts.
- The sandals are more than 1-2 sizes too small for your feet.
Look for reputable shoe repair experts trained in customized sandal stretching. Trust them with your most problematic or treasured pairs. Their precision tools and experienced hands can stretch sandals up to a full size larger with care – magic!
Caring for Sandals Post-Stretch
Now that your sandals hug your feet in blissful comfort, let’s keep them in great shape for the long run. Here are my top care tips:
Allow Recovery Time
After intense stretching, give leather and synthetic materials 12-24 hours to recover their structure before wearing them again. This prevents overstretching.
Keep Shape
Use shoe trees, shoe forms, or even socks/paper to hold the shape between wears. Avoid collapsing and creasing.
Clean Regularly
Wipe leather and synthetic materials with a damp cloth to remove dirt and oils which can break down the material over time, causing brittleness and cracks.
Re-condition Leather
Every few months, apply a leather conditioner to keep the leather supple and prevent drying out. Massage it in after cleaning for nourishment.
Seal Fabrics
Apply a fabric sealant spray to protect stretched fabrics from stains and damage from moisture or oils. Reapply after cleaning.
With a little TLC, your custom-fit sandals will last for seasons of stylish summer fun! Stretch on my footwear friends.
Key Do’s & Don’ts for Safe Stretching
While impatient feet want instant gratification, safe stretching requires patience and precaution. Keep these key pointers in mind:
Do:
- Stretch gradually over multiple sessions to avoid overdoing it.
- Focus on the worst problem areas first before overall stretching.
- Use the gentlest method possible for the material.
- Allow shoes to rest and recover between stretching sessions.
- Test heat methods cautiously first on interior/hidden areas.
Don’t:
- Aggressively force or over-bend the sandals.
- Use direct high heat that could scorch delicate materials.
- Soak leather or suede sandals which can damage the structure.
- Wear sandals immediately after stretching without allowing time to cool and stabilize.
- Expect more than 1 full size of stretching to avoid damage.
Patience grasshopper! With care and incremental steps, your sandals will conform to your feet for custom bliss.
Parting Thoughts
I hope this guide has shown that nearly any snug sandals can be coached into a relaxed fit with the right techniques. Don’t let rigid shoes steal your summer fun or freedom. With a few tricks, you can customize comfort and style.
Dance the night away blister-free, sprint for that shuttle bus uninhibited, and stroll the boardwalk supported from heel to toe. Your feet and your sandals will thank you!
Now go give those snug straps and stiff soles the stretch of their life. Wear your favorite shoes in comfort and confidence. Just remember to treat your footwear gently, go at a gradual pace, and allow time for materials to stabilize. With that care and consistency, you’ll be walking on cloud 9 in no time!
Answering Common Questions on DIY Sandal Stretching
Over the years, I’ve gotten tons of questions from friends and readers about my stretching techniques. Let’s tackle some of the frequent ones here:
Can Any Sandal Be Stretched at Home?
Generally yes, with caution! Very delicate materials like satin or glitter mesh could be risky. When in doubt, start with the most subtle method possible and increase intensity gradually only if needed. If home techniques aren’t working after a few dedicated attempts, seek a professional.
How Much Can Sandals Be Stretched Safely?
I recommend only attempting to stretch sandals up one full size larger. Trying to aggressively stretch them 2+ sizes could damage materials and structure. Take it slow over multiple sessions for the best results within about a half to full-size max.
How Long Does it Take to See Results?
It depends on the intensity and frequency of the method. Some show immediate minor results, like right after heating and wearing. But the overall process can take 1-2 weeks with 30 minutes of focused effort every couple of days. Letting the sandals fully rest and stabilize between sessions prevents overstretching.
Will Stretching Ruin My Sandals’ Look?
It shouldn’t if done carefully and gradually! The structure should still hold its shape without getting misshapen. With leather, the stretched areas develop subtle creasing. Synthetics retain their molded look. Any visible changes should be minimal.
Can I Stretch Rental Sandals or Borrowed Shoes?
I don’t recommend it since you can’t control how drastically it might impact the fit and structure for the next wearer. Your best bet is to ask the rental company or owner if they have a stretcher on hand.
Do Men’s Sandals Stretch the Same as Women’s?
The methods are virtually identical! Men’s sandals are simply sized larger on average. Focus on the tight spots and avoid overstretching the full footbed beyond the needed width for comfort.
Will Stretching Prevent Blisters and Calluses?
Absolutely! By removing excess pinch points and pressure zones, stretching allows your feet to move and swell naturally without friction. No more blisters, corns or sore spots. Just silky comfort.
Have more Q’s about your stretching dilemmas? Reach out anytime in the comments – I’m happy to help troubleshoot!
In Closing: My Sandal Stretching Journey
I hope you’re feeling empowered to customize the fit of your favorite sandals for blissful wearing. It’s amazing how such simple, non-invasive techniques can have such transformative results. No more relegating cute styles to the back of the closet!
For me, learning to stretch sandals myself was life-changing. I can now wear strappy heels, boho woven flats, rustic leather Fisherman styles – you name it! The ability to finesse practically any snug shoes to match my feet perfectly has made me more confident in expressing my personal style.
Now I have the courage to take more fashion risks, hunt for deals on secondhand treasures, and not obsess over slight fit issues that are easily fixed. My feet feel free and supported to take on any summer adventure in relaxed comfort.
More than anything, I hope my sandal stretching tips help you pursue your warm-weather fun without footnote pain or inhibition. You deserve to feel 100% comfortable in your own shoes. Go forward and walk joyfully!


Leave a Reply